


Interior design photography: 5 Elevating Steps
Why Interior Design Photography Matters for Your Business
Interior design photography is the art of capturing spaces to showcase their design, lighting, and atmosphere. For designers, marketers, or creators, mastering this skill is crucial. The numbers prove it: high-quality interior photography can increase booking rates for interior designers by up to 40%, while professional photos in real estate listings lead to a 118% increase in online engagement. With over 70% of clients making hiring decisions based on visual portfolios, professional images are non-negotiable.
Quick Guide to Interior Design Photography:
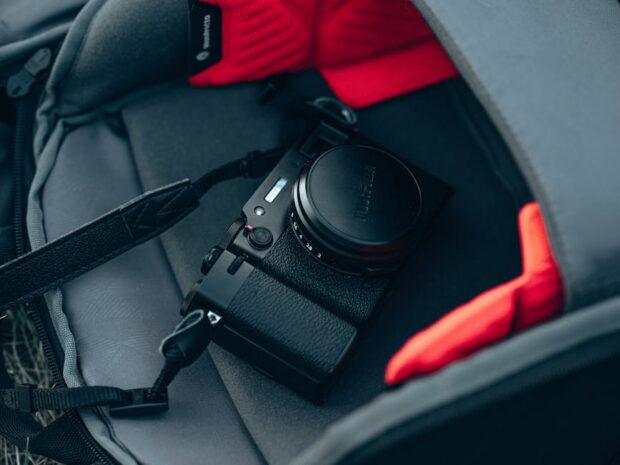
- Essential Gear – Full-frame camera, wide-angle lens (24-70mm), sturdy tripod, and tethering system
- Lighting Strategy – Prioritize soft, natural light and avoid harsh shadows or mixed color temperatures
- Composition Basics – Shoot straight with vertical lines, use rule of thirds, capture wide, medium, and detail shots
- Styling Approach – Declutter spaces, add organic elements like flowers, create lifestyle moments
- Post-Processing – Shoot in RAW, adjust white balance and exposure, straighten lines, remove distractions
As digitaljeff, with over 20 years in digital media and content creation, I’ve seen how crucial this skill is. Let me share the professional techniques to make spaces come alive through the lens.
, Step 2 - Light (natural light, soft even lighting), Step 3 - Composition (straight lines, rule of thirds, shot variety), Step 4 - Staging (declutter, organic elements, lifestyle moments), Step 5 - Editing (RAW format, white balance, straightening, removing distractions) - Interior design photography infographic")
Interior design photography glossary:
- real estate photography
- how to shoot flambient real estate photography
- local real estate photographers
Mastering the Art of Interior Design Photography
This section covers the core principles for creating stunning interior photos, from gear selection to the final edit. Our journey into interior design photography begins with understanding the tools, light, and curation that bring a space to life.
Gearing Up: Essential Equipment and Tools
Reliable equipment is non-negotiable for crisp, professional images. Here’s what you need:
- Camera: A full-frame camera is ideal for its superior low-light performance and dynamic range.
- Lenses: A versatile zoom like a Canon EF 24-70 f2.8 Zoom Lens is a workhorse for wide shots and details. A 24mm tilt-shift lens is excellent for correcting perspective.
- Tripod: A sturdy Manfrotto tripod and head is vital for sharp, blur-free images, especially in low light.
- Tethering System: Connecting your camera to a laptop lets you instantly review shots on a larger screen to check details.
- Lighting: Speedlights or strobes like the Profoto B10 Plus are essential for controlling light and filling shadows.
For those on a budget, renting gear is a smart strategy. You can find more insights in our guide on Camera Equipment for Real Estate Photography.

The Art of Light: Natural and Artificial Sources
Light is everything in interior design photography. Your primary goal is to maximize soft, natural light, as it provides the most accurate color and inviting ambiance. Always turn off all interior artificial lights to avoid mixed color temperatures and harsh shadows.
Shoot on overcast days or use sheer curtains to diffuse harsh sunlight. When natural light isn’t enough, use strobes like the Profoto B10 Plus to add fill light. Bounce the flash off walls or ceilings to create a soft, natural look. For advanced techniques, explore how to shoot flambient real estate photography, which blends ambient and flash lighting. A tripod is your best friend in low light, allowing for longer shutter speeds to capture bright, sharp images.
Composition and Framing: Creating a Compelling Narrative
Composition guides the viewer’s eye and tells the room’s story. The golden rule is to shoot straight on, keeping all vertical lines perfectly vertical. Avoid dramatic angles that distort proportions. Use your camera’s grid overlay and shoot from about four feet high to mimic a natural eye-level view.
To tell a complete story, capture a variety of shots:
- Wide Shots: Establish the room’s layout and overall feel.
- Medium Shots (Vignettes): Focus on specific furniture groupings.
- Detail Shots: Highlight unique textures, materials, and accessories.
For more inspiration, refer to resources like How to Photograph Your House Like a Pro.

Staging and Styling for Picture-Perfect Interior Design Photography
Styling lifts a snapshot to an aspirational image. The key principles are:
- Declutter: This is the most crucial step. Remove personal items, cords, and excess objects to let the design shine.
- Create Lifestyle Moments: Add subtle cues that suggest use, like an open book on a side table or fresh ingredients on a kitchen counter.
- Add Organic Elements: Fresh flowers and greenery add life, texture, and a pop of color.
For kitchens, use items like wooden and ceramic bowls and fresh fruit. For bathrooms, a stack of crisp white towels and simple trays create a spa-like feel. A professional stylist often removes everything and adds items back slowly, ensuring each object serves a purpose.
Post-Processing: Enhancing Your Images in the Digital Darkroom
Editing turns raw captures into polished, magazine-ready images. Always shoot in RAW format for maximum editing flexibility. Using software like Adobe Lightroom Classic, focus on these key adjustments:
- White Balance: Correct color casts for true-to-life colors.
- Exposure & Contrast: Adjust brightness for a well-lit, inviting look.
- Straighten Lines: Use transform tools to ensure all lines are perfectly vertical and horizontal. This is non-negotiable.
- Lens Correction: Fix distortion from wide-angle lenses.
- Remove Distractions: Use spot removal tools to eliminate outlets, cords, and other imperfections.
Editing is essential for a professional result. Learn how AI can help with our AI Content Creation Guide.
Common Mistakes in Interior Design Photography and How to Avoid Them
Avoiding common pitfalls will lift your work. Here are the top mistakes and their fixes:
- Crooked Lines: The most glaring error. Fix: Use a tripod, shoot straight-on, and correct lines in post-processing.
- Mixed Lighting: Creates bad color casts. Fix: Turn off all artificial lights; use natural light or controlled strobes.
- Clutter or Over-Styling: Distracts from the design. Fix: Declutter ruthlessly and use props sparingly.
- Unnatural Angles: Distorts the room. Fix: Shoot from a natural, eye-level perspective (around four feet high).
- Forgetting Details: Leaves the story incomplete. Fix: Capture a mix of wide, medium, and detail shots.
- Ignoring Reflections: Looks unprofessional. Fix: Watch your angles, use a polarizing filter, and edit out minor reflections.
- Not Using a Tripod: Leads to blurry images. Fix: Always use a sturdy tripod for sharpness and precision.
From Capture to Client: Leveraging Your Photography
Once you’ve captured stunning images, the next step is leveraging them for different audiences and platforms.
DIY vs. Hiring a Pro: Making the Right Choice
Deciding whether to shoot yourself or hire a professional depends on your goals and budget.
When to Hire a Pro: For professional portfolios, publications, or high-value projects, investing in a professional team is a strategic business decision. They bring expertise, high-end equipment, and professional styling, saving you time and ensuring consistent, top-tier results that attract clients.
When to DIY: For social media or personal use, a DIY approach can be effective.
- Use Your Smartphone: Modern phones have great cameras. Focus on composition and lighting.
- Rent Gear: Access professional equipment for key projects without the high cost.
- Master the Basics: Prioritizing natural light and decluttering makes the biggest impact, regardless of your camera.
- Use Free Editing Apps: Apps like Lightroom Mobile or Snapseed can significantly improve your photos.
For client acquisition, professional quality is key, but a smart DIY approach can still yield great results for other purposes.
Adapting for Different Platforms and Spaces
Tailor your interior design photography to the specific space and the platform where it will be shared.
- For Portfolios & Publications: Prioritize pristine, high-resolution quality. Deliver a comprehensive story with a mix of wide, medium, and detail shots that reflect the designer’s vision.
- For Social Media: Vertical (portrait) shots are king on platforms like Instagram and Pinterest, as they fill the screen and stop the scroll. Consider creating dynamic content like reels to boost engagement.
- Adapting to the Space:
- Small Rooms: Use a wide-angle lens carefully to avoid distortion. Shoot through doorways to create depth and focus on unique details.
- Large, Open-Plan Spaces: Use wide shots to show flow and grandeur. Create distinct compositions by layering foreground and background elements.
- Architectural Details: Use detail shots to highlight features like custom built-ins or unique molding. A tilt-shift lens is invaluable for perfect lines.
Conclusion: Elevating Your Brand with Stunning Visuals
We’ve covered the essentials of interior design photography, from gear and lighting to composition and editing. The takeaway is clear: high-quality visuals are powerful business tools. With most clients making hiring decisions based on portfolio quality, exceptional photography is crucial for boosting bookings and engagement.
Your brand’s visual identity is your silent ambassador, communicating your aesthetic and attention to detail. A strong portfolio is your most persuasive marketing asset.
At CheatCodesLab, we empower creators with AI tools and cheat codes for content marketing and SEO to help you optimize your visual content. To further explore the right gear, dive into our guide on Camera Equipment for Real Estate Photography. Invest in your visual storytelling and watch your brand reach new heights.


About the author

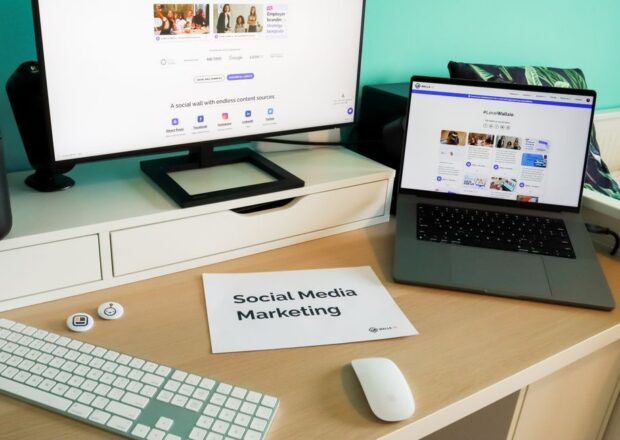
The Best Social Media Marketing Agencies in the World
Discover the best social media marketing agencies in the world for enterprise brands and niche industries in 2026.

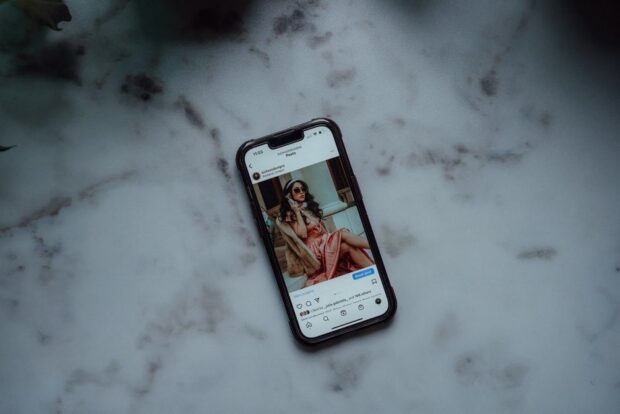
Why Instagram Caption Ideas Are My Favorite
Unlock instagram caption ideas that boost engagement, spark connection, and help your posts perform better on Instagram.
How to Edit a Posted Instagram Carousel in 5 Steps
Learn how to add photo to Instagram carousel after posting with our 5-step editing workflow and post-publishing hacks.

Ultimate Guide to Find Unfollowers on Instagram
Learn how to find unfollowers instagram safely with official data exports and local tools that protect your account from bans.

The Complete Guide to BrightLocal Local SEO
Master BrightLocal local seo with rank tracking, citation management, and review tools to boost visibility in 2026.

Beginner’s Guide to Insta Followers Pro Unlimited Coin
Discover how Insta Followers Pro Unlimited Coin works, its risks, and safe organic alternatives for real Instagram growth.
Related
The Best Social Media Marketing Agencies in the World
Discover the best social media marketing agencies in the world for enterprise brands and niche industries in 2026.
Why Instagram Caption Ideas Are My Favorite
Unlock instagram caption ideas that boost engagement, spark connection, and help your posts perform better on Instagram.
How to Edit a Posted Instagram Carousel in 5 Steps
Learn how to add photo to Instagram carousel after posting with our 5-step editing workflow and post-publishing hacks.
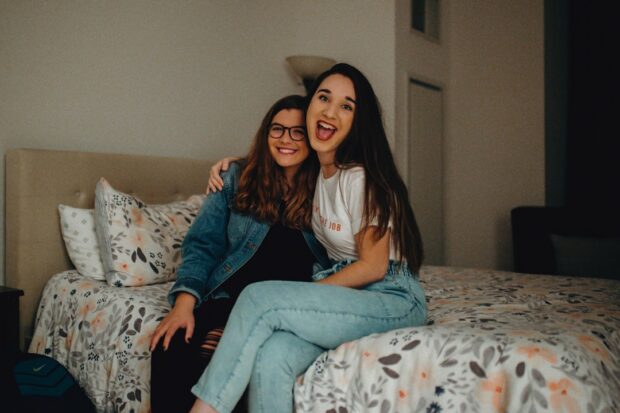
10 Bestie Caption Ideas You’ll Love
Discover bestie caption ideas for every vibe and boost your Instagram engagement with heartfelt, funny, and aesthetic friendship posts.
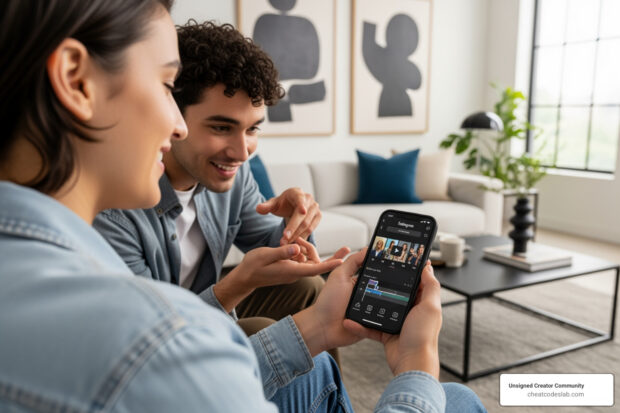
How to Add Collaborator to Instagram Reel in Minutes
Learn how to add collaborator Instagram reel quickly with this step-by-step guide covering invites, edits, and best practices.
How to Carry Your Camera Gear from the City Streets to the Hiking Trails
Discover the best way to carry camera gear from city streets to hiking trails. Expert tips on backpacks, slings, pods for protection and quick access.